Table of Contents
This page has deprecated and will be archived. Please go to https://www.bitcraze.io/.
Adding a buzzer
This guide shows how to add a piezo buzzer to a Crazyflie 2.0 prototype deck and control it using the parameters from the Crazyflie Python client.
What you need
For this hack you will need:
- Soldering iron
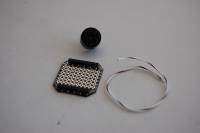
- Piezo buzzer
- Crazyflie 2.0 breakout deck (optional, just needed for testing different buzzers)
- Some wire
Building
To get extra volume out of the buzzer we will use differential-drive using PWM on two pins, each connected to one terminal of the buzzer. This will give a -3V to 3V swing instead of 0-3V between on/off.
The buzzer should be connected to the TX2/RX2 pins on the expansion header which also has PWM functionality using TIM5 channel 3/4.
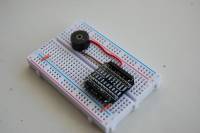
1) Try out different buzzers using the Crazyflie 2.0 breakout deck and a few wires
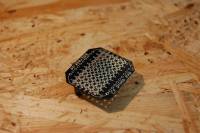
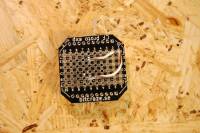
2) Select a buzzer to solder to a Crazyflie 2.0 prototype deck using a few wires
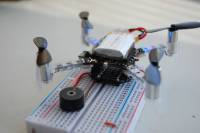
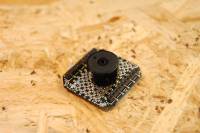
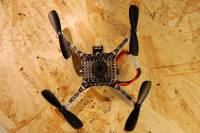
3) Attach the prototype deck with the buzzer to the Crazyflie 2.0 with the male headers in the box
Firmware
In order to do fun things with the buzzer there needs to be some firmware. The firmware can be found on the dev-buzzer branch in the Crazyflie 2.0 repo on GitHub. Build the firmware and flash it.
The buzzer is implemented in a similar fashion as the LED-ring deck. Using a parameter you can set the current effect of the buzzer. Below is a list of the parameters that are interesting.
| Parameter | Comment |
|---|---|
| buzzer.effect | Sets the current effect (max buzzer.neffects - 1) |
| buzzer.melody | Set the current melody (needs buzzer.effect = 2) |
| buzzer.freq | Set static frequency (needs buzzer.effect = 0) |
| buzzer.radio | Set the duty cycle (in 8 bits) for the PWM (should be 127) |
| Effect ID | Comment |
|---|---|
| 0 | Static tone/ratio |
| 1 | Alarm |
| 2 | Play a melody (selected by buzzer.melody) |
| 3 | Frequency varies with pitch (when above 5 or below -5 degrees) |
Have a look in the modules/src/buzzer.c file for adding new melodies and effects.
Result
Vine (enabling the sound is a good idea ![]() )
)
